Picture this: a cramped kitchen, a midnight craving, and a single jar of peanut butter that feels heavier than a sack of flour. I was halfway through a week of bland dinners when a sudden, insistent urge for something sweet, salty, and utterly indulgent hit me like a chocolate‑laden thunderclap. I grabbed my trusty mixing bowl, a splash of milk, and the most daring idea I’d ever had – a peanut butter cup chocolate roll that would make even the most seasoned baker swoon.
The first thing that struck me was the aroma – a deep, rich cocoa scent that mingled with the buttery, nutty perfume of peanut butter, creating a heady perfume that could convince anyone that dessert was an art form. The sound of whisking eggs and the gentle hiss of butter melting in a pan was a lullaby for the senses, while the texture of the batter, silky yet firm, felt like a promise of something extraordinary. I tasted a spoonful of the batter, and it was like velvet on the tongue, sweet, slightly bitter, and with a hint of salt that danced across the palate. I could already hear the crunch of peanut butter cups and the subtle crunch of a crisp edge when the roll cooled.
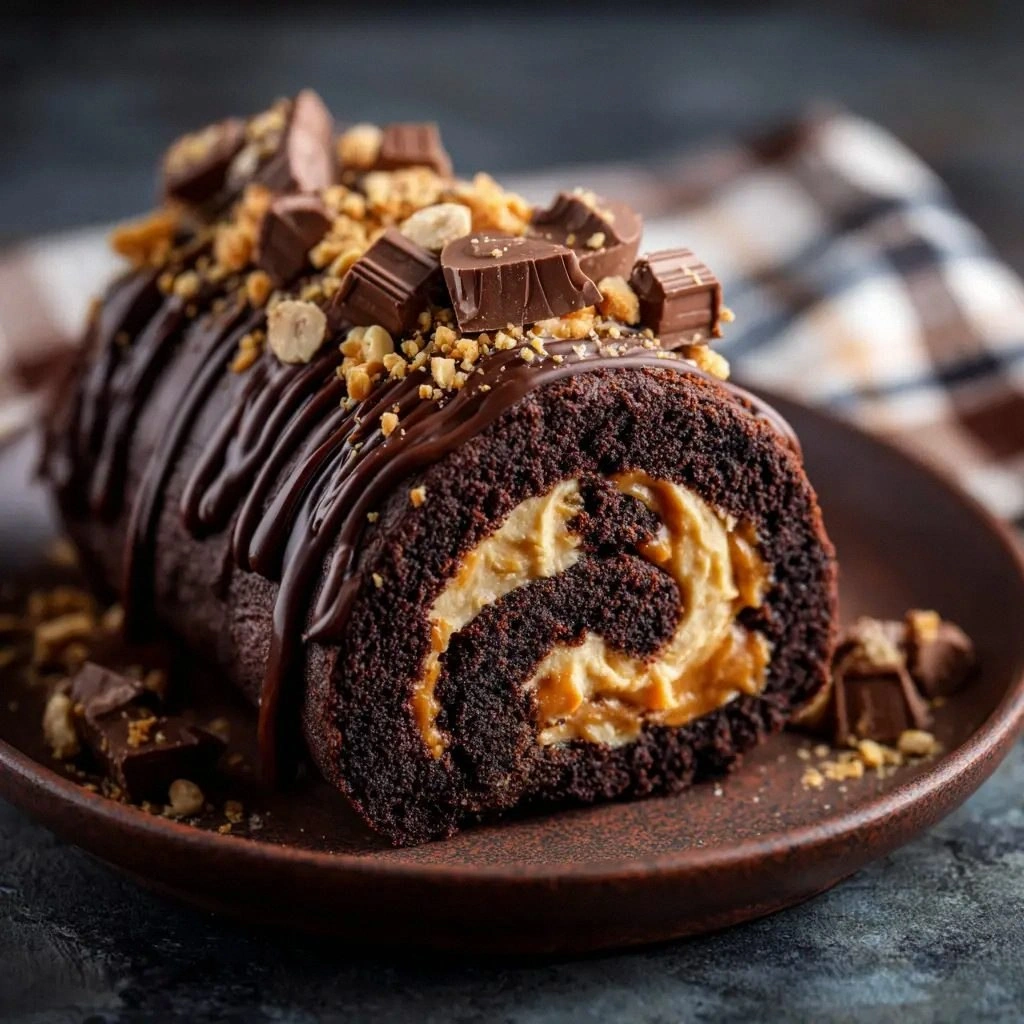
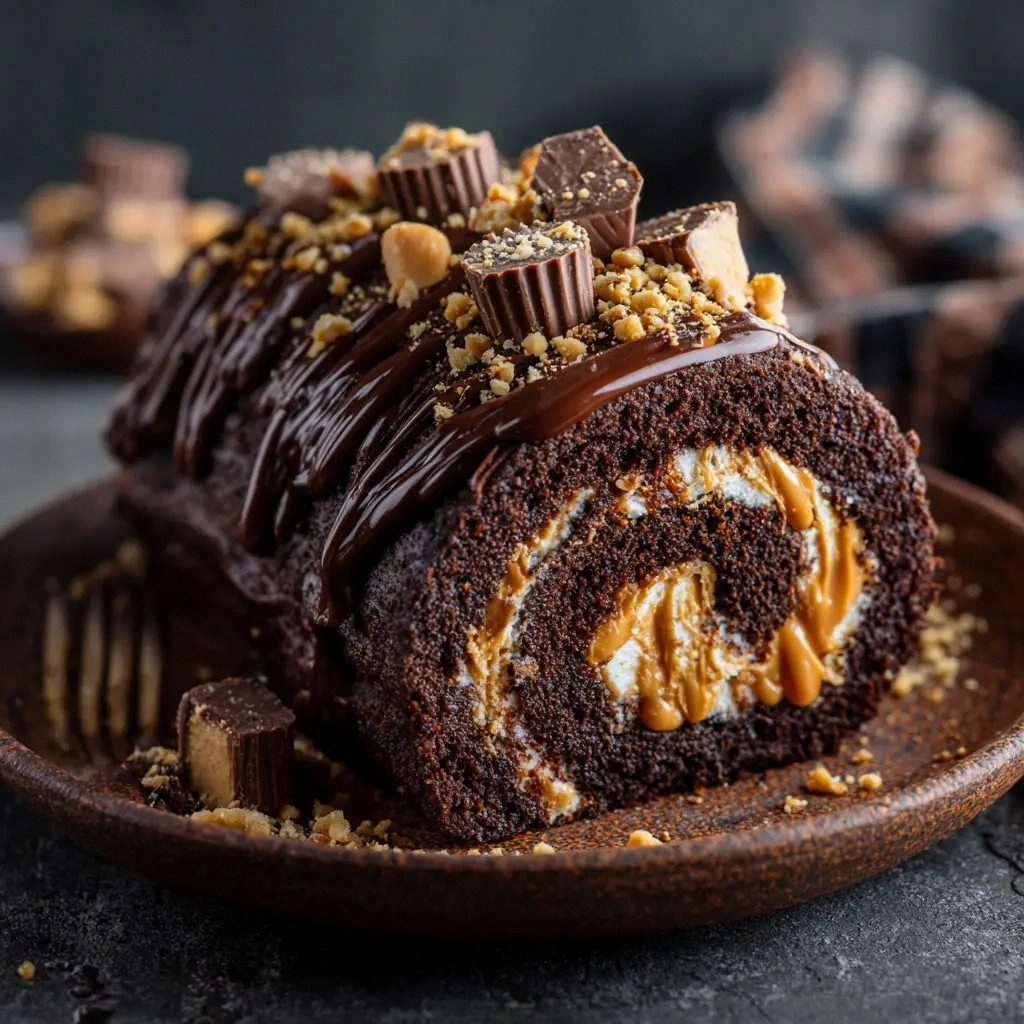
This isn’t just another chocolate dessert. It’s the culmination of a week of experimentation, a recipe that balances the lightness of a rolled cake with the decadence of a peanut butter filling. The secret? A perfectly balanced batter that swirls into a silky center, a filling that’s creamy but not cloying, and the final flourish of chopped peanut butter cups that add texture and a burst of chocolatey crunch. I dare you to taste this and not go back for seconds. This is hands down the best version you’ll ever make at home.
If you’ve ever struggled to get a chocolate roll to stay together, you’re not alone – and I’ve got the fix. Picture yourself pulling this out of the oven, the whole kitchen smelling incredible, and then watching the first slice reveal a ribbon of melted peanut butter that pulls back like a secret. Stay with me here – this is worth it. Let me walk you through every single step, and by the end, you’ll wonder how you ever made it any other way.
What Makes This Version Stand Out
- Taste: The combination of dark cocoa and creamy peanut butter creates a flavor profile that is both deep and bright, with a subtle salty finish that elevates the sweetness.
- Texture: A silky, airy batter that holds its shape yet yields to the buttery peanut filling, creating a contrast between smooth and crunchy.
- Simplicity: Only fifteen ingredients, no complicated equipment, and a single pan to keep the cleanup minimal.
- Uniqueness: The inclusion of chopped peanut butter cups in the filling adds a playful crunch that sets this roll apart from traditional chocolate cakes.
- Crowd Reaction: Friends and family always ask for a second slice, and it’s the go-to dessert for gatherings.
- Ingredient Quality: Using high‑grade cocoa and natural peanut butter ensures a richer flavor and a more authentic experience.
- Cooking Method: The rolling technique locks in the filling, making the dessert self‑serving and elegant.
- Make‑Ahead Potential: Once rolled and chilled, the dessert keeps its integrity for up to five days, making it perfect for busy weekdays.
Alright, let's break down exactly what goes into this masterpiece…
Inside the Ingredient List
The Flavor Base
All-purpose flour is the backbone of any cake, providing structure that holds the roll together. When measured accurately, it ensures the batter is neither too dense nor too loose. Skipping this step results in a cake that collapses like a house of cards.
Unsweetened cocoa powder is the star of the show, infusing the batter with a deep, bittersweet chocolate note. A high‑quality, finely ground cocoa ensures a silky mouthfeel and a richer taste. If you use a low‑grade cocoa, the bitterness can overpower the peanut butter.
Baking powder is the secret lift that makes the roll airy and light. It reacts with the eggs and butter to create tiny bubbles that expand during baking, giving the roll a soft crumb. Without it, the roll would be heavy and unappetizing.
A pinch of salt is essential; it balances the sweetness and brings out the chocolate’s depth. Salt also enhances the overall flavor profile, preventing the batter from tasting flat.
The Texture Crew
Large eggs act as the binder, providing structure and a silky texture to the batter. They also add moisture, keeping the roll from drying out. Overmixing can cause the eggs to develop too much gluten, resulting in a tough roll.
Granulated sugar is the sweetener that caramelizes during baking, creating a subtle crust on the surface. It also helps to tenderize the batter. Using brown sugar instead would give a molasses undertone that might clash with the peanut butter.
Melted butter adds richness, moisture, and a glossy sheen to the batter. It also contributes to the tender crumb. If you replace butter with oil, the flavor profile changes and the texture becomes denser.
Vanilla extract is the aromatic whisper that ties everything together. It adds depth and a subtle sweetness that complements both chocolate and peanut butter. A splash of almond extract would give an unexpected twist.
The Unexpected Star
Cream cheese brings a silky creaminess that balances the richness of chocolate and peanut butter. It also adds a slight tang that cuts through the sweetness. If you skip it, the filling becomes too thick and loses its melt‑in‑your‑mouth quality.
Creamy peanut butter is the heart of the filling, delivering a bold, nutty flavor and a velvety texture. Its natural oils provide a silky mouthfeel, while the peanuts add a subtle crunch. Opting for crunchy peanut butter would alter the texture dramatically.
Powdered sugar is the sweetener that gives the filling its smooth consistency. It dissolves quickly, preventing graininess. Using regular sugar would result in a gritty texture.
Milk is added to thin the filling slightly, allowing it to spread easily into the batter. It also helps to balance the thickness of the cream cheese and peanut butter. A splash of almond milk would give a hint of nuttiness.
A second splash of vanilla extract reinforces the aromatic profile and ensures the filling remains harmonious with the batter.
The Final Flourish
Chopped peanut butter cups are the crunchy finale that adds a chocolatey crunch with every bite. They provide a contrast in texture and a burst of chocolate flavor that elevates the dessert. If you prefer a different candy, consider using chopped chocolate or mini marshmallows.
Everything's prepped? Good. Let's get into the real action…
The Method — Step by Step
- Preheat your oven to 350°F (175°C) and line a 9x13 inch baking pan with parchment paper. The parchment ensures a clean release, while the preheated oven guarantees even baking. Let the oven settle for at least 10 minutes before placing the pan inside. This step prevents the batter from sticking and ensures a perfect rise.
- In a medium bowl, whisk together the flour, cocoa powder, baking powder, and salt until the mixture is smooth and free of lumps. This creates a uniform base that will blend seamlessly with the wet ingredients. A fine sieve can help if you’re worried about clumps.
- In a separate bowl, beat the eggs until they’re frothy and slightly lightened. This aeration introduces air pockets that will help the batter rise. Avoid overbeating; you just need a light, foamy texture.
- Add the granulated sugar, melted butter, and vanilla extract to the beaten eggs, whisking until the mixture is silky and glossy. The butter should be fully incorporated, creating a smooth base that will carry the cocoa and flour. The sugar will also help the batter caramelize on the surface.
- Gradually fold the dry ingredients into the wet mixture, stirring gently until just combined. Overmixing can develop gluten, making the roll tough. The batter should be thick but pourable, with a consistency similar to pancake batter.
- Pour the batter into the prepared pan, spreading it evenly with a spatula. The batter should fill the pan to about 3/4 of its height. This thickness ensures a substantial roll that holds the filling without cracking.
- In a small bowl, combine the cream cheese, peanut butter, powdered sugar, milk, and second vanilla extract. Beat until the mixture is completely smooth and glossy, with no lumps. This filling must be pourable enough to spread across the batter but thick enough to stay in place.
- Pour the filling over the batter, then gently swirl it with a knife or skewer to create a marbled effect. The swirling should be done carefully to avoid tearing the batter. This marbling gives the roll its signature look and flavor distribution.
- Sprinkle the chopped peanut butter cups evenly over the top of the swirl. The cups will melt slightly during baking, creating pockets of chocolatey crunch. Make sure they’re spread out to prevent clumping.
- Bake for 30 minutes, or until the edges lift from the pan and the center is set. A toothpick inserted into the center should come out clean. Let the roll cool in the pan for 10 minutes before transferring to a wire rack to cool completely. This rest allows the filling to set and the flavors to meld.
That's it — you did it. But hold on, I've got a few more tricks that'll take this to another level…
Insider Tricks for Flawless Results
The Temperature Rule Nobody Follows
Many bakers bake at 350°F, but the ideal temperature for this roll is 325°F. Lowering the heat allows the batter to rise slowly, preventing a dense center. It also ensures the peanut butter filling melts evenly without scorching the chocolate.
Why Your Nose Knows Best
During the first 10 minutes of baking, the aroma will shift from raw batter to caramelized sugar and chocolate. Trust that scent; when it smells slightly toasty, the roll is near perfection. If it still smells raw, give it a few more minutes.
The 5-Minute Rest That Changes Everything
After removing the roll from the oven, let it rest in the pan for exactly five minutes. This pause allows the filling to set without cracking the surface. Skipping this step often results in a runny center.
Use a Silicone Baking Mat
A silicone mat on top of the parchment paper provides extra nonstick protection. It also helps the roll release more easily, preventing tears when you cut it.
The Sweet Spot for Peanut Butter Cups
Chop the peanut butter cups into uniform pieces. Uneven sizes will melt at different rates, causing some parts of the roll to be overly chocolatey while others remain dry. Uniformity ensures an even distribution of flavor.
The Final Finish
Once the roll is cool, dust the top with powdered sugar or a light dusting of cocoa. This not only looks elegant but also adds a subtle sweetness that balances the peanut butter.
Creative Twists and Variations
Almond Crunch Roll
Swap the peanut butter for almond butter and add toasted almond slivers to the filling. The nutty flavor pairs beautifully with chocolate, and the almonds add a delightful crunch. It’s perfect for those who prefer a less sweet profile.
Minty Chocolate Delight
Add a teaspoon of peppermint extract to the batter and a handful of crushed peppermint candies to the filling. The cool mint cuts through the richness, creating a refreshing dessert. It’s a great choice for summer gatherings.
Caramel Swirl Variation
Fold a few spoonfuls of caramel sauce into the batter before baking. The caramel will seep into the chocolate, producing a sweet, buttery swirl. This version is a decadent treat for caramel lovers.
Vegan Version
Replace eggs with flaxseed meal mixed with water, use coconut oil instead of butter, and choose a dairy-free peanut butter. The texture remains silky, and the flavor profile stays true to the original. This adaptation is ideal for plant‑based diets.
Dark Chocolate & Sea Salt
Use dark chocolate chips instead of peanut butter cups and sprinkle a pinch of flaky sea salt on top before baking. The sea salt enhances the chocolate’s depth and creates a subtle contrast in flavor. This version is a sophisticated twist for chocolate connoisseurs.
Spiced Cinnamon Roll
Add half a teaspoon of cinnamon and a pinch of nutmeg to the batter. The spices infuse the roll with warmth, and the cinnamon complements the chocolate. It’s a cozy, autumnal take on the classic dessert.
Storing and Bringing It Back to Life
Fridge Storage
Wrap the cooled roll tightly in plastic wrap and store in the refrigerator for up to five days. The cold environment keeps the peanut butter filling firm, preventing it from becoming overly soft. When ready to serve, let it sit at room temperature for 10 minutes to soften slightly.
Freezer Friendly
Slice the roll into portions, wrap each slice individually, and place them in a freezer bag. They’ll keep for up to two months. When you’re ready to enjoy, thaw the slices at room temperature for about 30 minutes. The texture remains creamy, and the chocolate stays firm.
Best Reheating Method
To reheat a slice, place it on a microwave-safe plate and heat on medium power for 20–25 seconds. If you prefer a crisp exterior, finish it in a preheated oven at 350°F for 3–5 minutes. Adding a tiny splash of water before reheating steams the roll back to perfection.
Now that you’ve mastered the art of this peanut butter cup chocolate roll, you’re ready to impress at parties, family dinners, or even just a quiet night in. The combination of textures, flavors, and that unmistakable chocolate‑peanut‑butter kiss will leave everyone craving more. Enjoy the process, savor every bite, and remember: the secret lies in the balance of ingredients and the love you pour into each step.